All-Day Sourdough Sandwich Bread (low-knead)
When I started developing this recipe I wanted the bread to have a good full day’s fermentation, be flexible in its timing so that I could work it around my schedule and not the other way around, and develop that lovely sandwich loaf structure without intensive kneading. This last thing was key because I have found that whole grain loaves are especially reluctant to rise when the dough is stiff to begin with – a must when kneading on a counter.
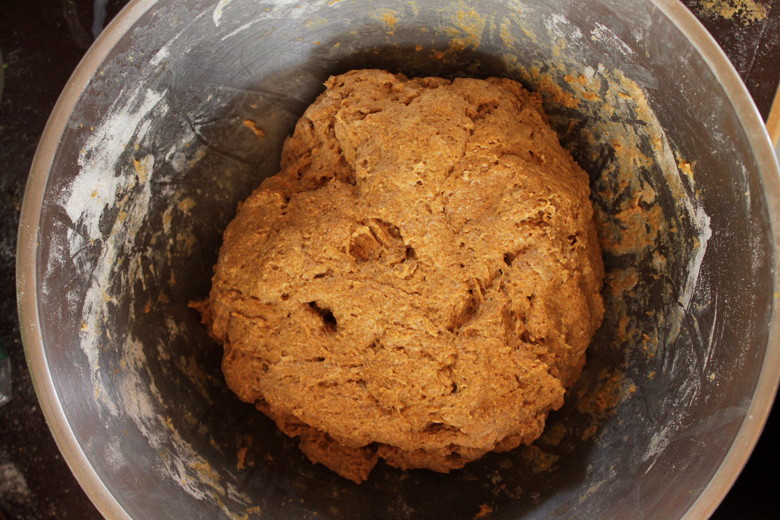
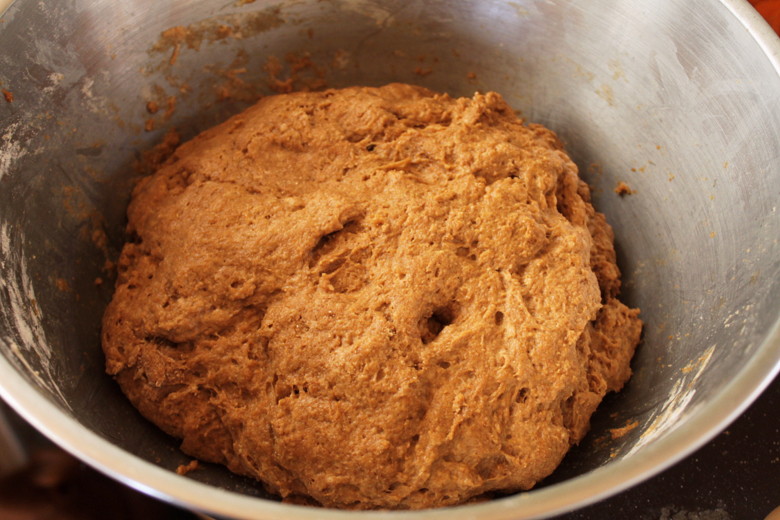
Gluten Development Without Kneading
Besides kneading, gluten can be developed through both time (fermentation) and a simple stretch-and-fold technique. In the case of this recipe, the dough is mixed together quickly and left in a seemingly sloppy mess. A few hours later a stretch-and-fold is applied in two minutes and it is left again for several hours. Just a few of these stretch-and-folds, along with the longer rise time, make the dough silky smooth and still just a bit tacky. At the end of the day a beautifully-risen loaf that looks like a high-yeast, high-knead loaf is baked. This loaf is made all the better for an all day fermentation and very little hands-on time.
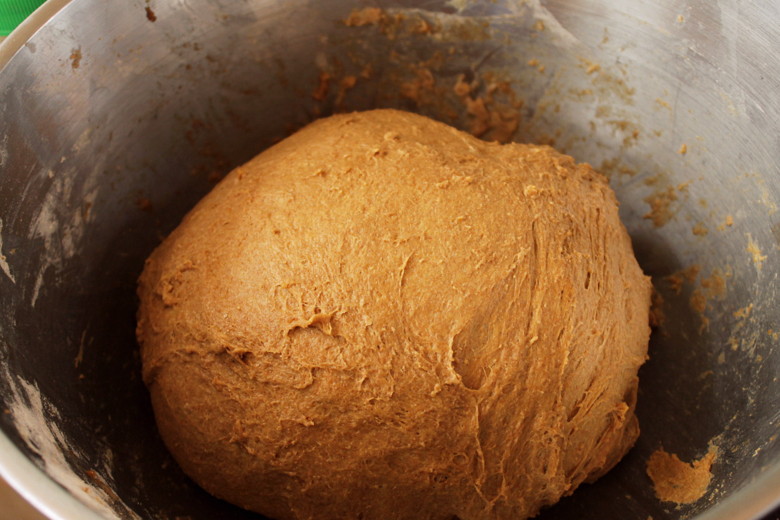
I’ve tried several methods and techniques for no-knead bread. While those artisan loaves made in Dutch ovens actually do work quite well, my tiny oven has not been able to accommodate such equipment. There is also a quality to the crumb of no-knead bread that is quite different to the light yet durable nature of a sandwich bread that is easy to slice thin enough for fillings or toast.
Sourdough or Conventional Yeast
Sometimes I don’t have a sourdough starter going, most likely due to the fact that I’ve neglected it and killed it. Real life, y’all. When this happens I still try to ferment or at least soak the dough to make it more digestible. I then use a scant amount of commercial yeast to help with the rise.
Lately I have been using 1/2 cup of water kefir as a portion of the liquid in this loaf in order to encourage fermentation. The water kefir needs to be completely cultured but the result, along with 1/4 teaspoon of commercial yeast, is almost identical to when I use sourdough starter.
I’ve also made this recipe in a few hours by increasing the yeast to 2 1/4 teaspoons and foregoing the sourdough starter. The dough is a bit tackier and the end result is just slightly different than the all day rise, but it still works.
Enrichments
When baking bread, generally only flour, salt, water, and leavening are necessary. Beyond these ingredients are things like milk, egg, fat, and sugar which are thought of as enrichments. These don’t replace the liquid in the recipe but are added, as desired, to increase the shelf-life, softness, and richness of the bread. They are always optional, in my opinion and depending on what I have I add or subtract eggs, honey, and coconut oil to the framework of the flour:water ratio. Since we have plenty of goat milk right now and I find that milk results in a softer loaf than water, I generally use all milk.
With all of that blah, blah, blahing out of the way, here is the recipe for what has become our daily bread around here. I double this recipe for our larger family and make it 1-2 times per week. I hope you enjoy it as much as we do.
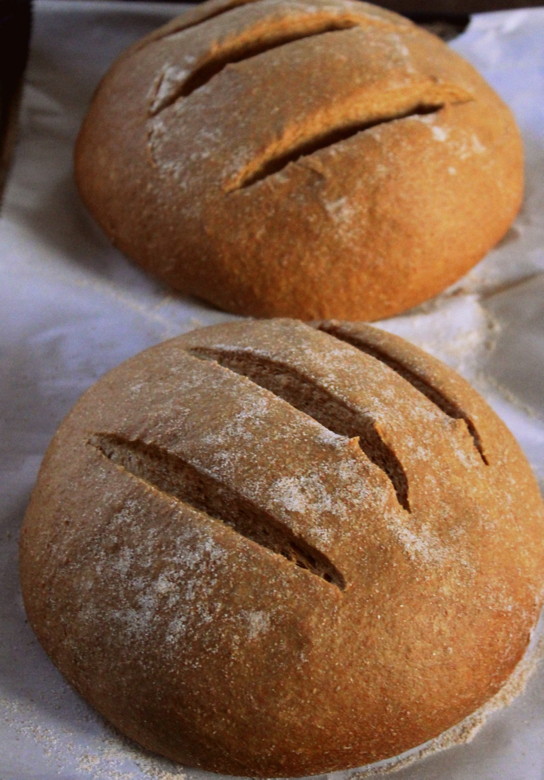
All Day Sourdough Sandwich Bread Recipe
Ingredients
- 3 1/2 cups flour (white, half white/half wheat, or 100% whole wheat)
- 1 1/4 – 1/2 cups water/milk/water kefir (the lesser amount for all white flour, the higher amount for 100% whole wheat)
- 2 teaspoons salt
- 1/4 teaspoon instant yeast (if sourdough starter is omitted)
- 1/4 cup sourdough starter, at its peak (see this article or the tutorial in 100% Rye for more on how to achieve this)
- 2 Tablespoons honey
- 2 Tablespoons melted coconut oil or butter
Directions
- First thing in the morning, combine all of the ingredients in a medium bowl and mix well with a fork or wooden spoon until all of the flour has been hydrated. Cover the bowl and leave to rest in a warm spot in your kitchen for approximately three hours. After this initial time period you may or may not notice that the dough has puffed up. We’re not looking for any doubling in volume; we are simply working the dough quickly and gently to develop the gluten.
- Uncover the dough, which will be sticky, and stretch and fold the dough upon itself, in the bowl, four or five times. It helps to see the dough as a clock and fold from the 12, 3, 6, and 9 points for even folding. To do this, simply grab that spot on your dough “clock” and fold it into the center of the ball of dough. Move from 12 to 3 and so on until it has stretched upon itself from every direction. A final folding can be done to neaten up the ball of dough. Flip the dough over. After this first stretch-and-fold the dough will appear a lot smoother than before. Cover the bowl again and leave for an additional 2-3 hours.
- Repeat stretch-and-fold technique from step two. Let rest 2-3 more hours and repeat one final time. The beauty of this recipe is that none of these time spans have to be exact and we aren’t waiting for the dough to double in between, though it will rise a bit. Instead, I like to time these stretch-and-folds around outings, nap times, and with a consideration for leaving a couple of hours at the end of the day for the bread to rise in the pan before baking.
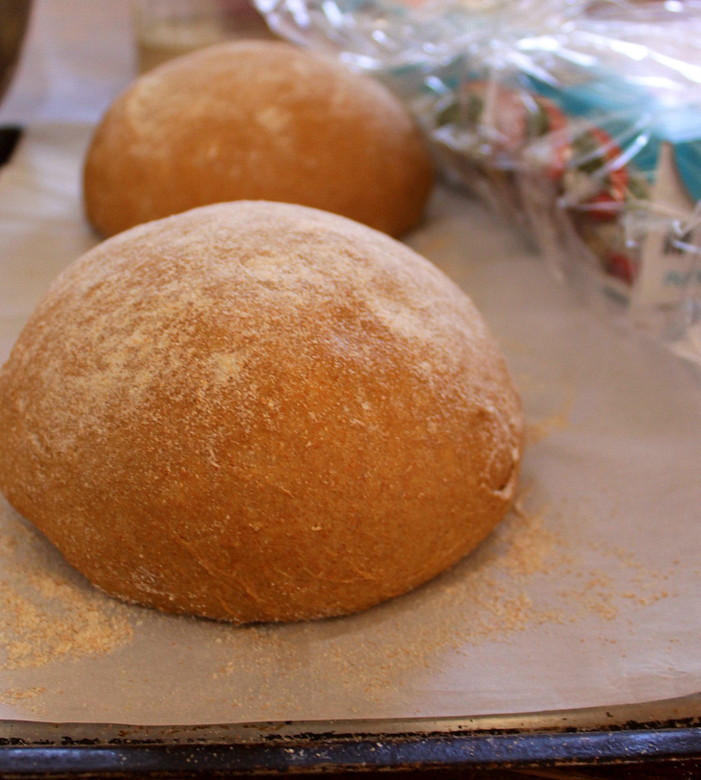
- A couple of hours before I wish to be done in the kitchen for the day, I shape the loaf for the final rise. To do this either grease a 9×5″ glass bread pan with butter or other solid fat or grease a baking sheet. Shape into a loaf or a round boule by tucking the dough under and forming a ball. When shaping a boule try to make the ball higher than wider as it can spread a bit during the rise period.
- Once shaped, leave the dough to rise for 1-2 hours, preheating the oven to 375 degrees during the last 30 minutes of rise time. I generally find that I don’t have to wait until it is doubled for it to be ready to bake. In fact, if you put it into the oven when it has risen by approximately 75%, the loaf tends to get great oven spring.
- Bake the bread in the middle of the oven for 25-32 minutes or until it reaches an internal temperature of 200 degrees or sounds hollow when the bottom of the loaf is thumped. Transfer to a cooling rack and allow to cool completely before slicing.

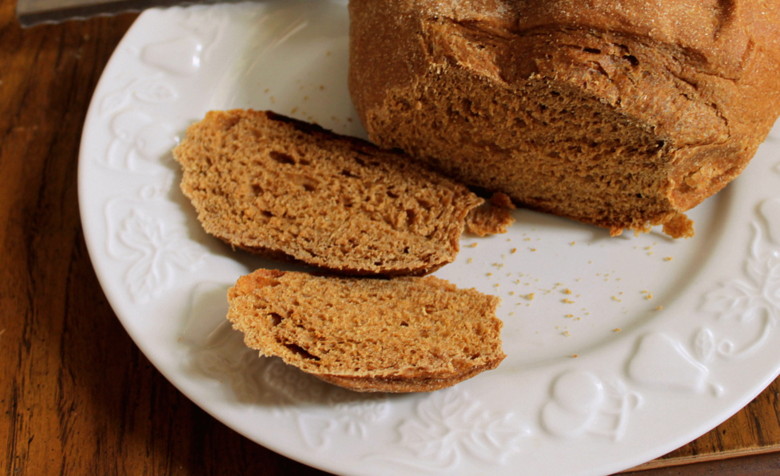
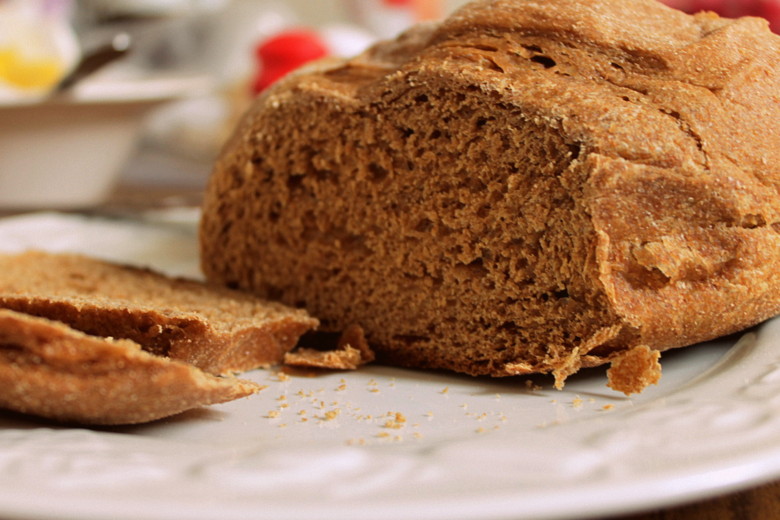

Really lovely looking bread! I do love making the “no knead” breads that I make with a danish dough hook, but it takes a lot of commercial yeast. This looks like a must try! Thanks!
I know you do A LOT of gluten free baking. Would you have a GF recipe like this one? I’d love the link if you do!
Hi CShines – I do do some gluten-free baking but do not have a recipe here on the blog for a similar loaf. However, there is a recipe I developed for Cultures for Health a few years back that is very good:
http://www.culturesforhealth.com/learn/recipe/gf-sourdough-recipes/gluten-free-sourdough-whole-grain-boule/?a_aid=56a2bfd429713
The other more recent recipe that I really like and find works really well when sliced and toasted is found in my forthcoming book, out May 2017:
http://amzn.to/2erfID7
I bake this bread twice weekly — just flour, salt, water and sourdough starter. I use the no knead mixing and proofing method by Artisan Bread by Steve (YouTube), but your all-day recipe gave me the inspiration and ingredients.